


Whether you are a professional cyclist or a commuter I bet you would hate to lose your bike to a thief armed with a wire cutter, hacksaw or a lock-pick.
Would not it be nice to recover your bike even if someone foolishly took it away from you? This is the main promise of a bicycle GPS tracker.
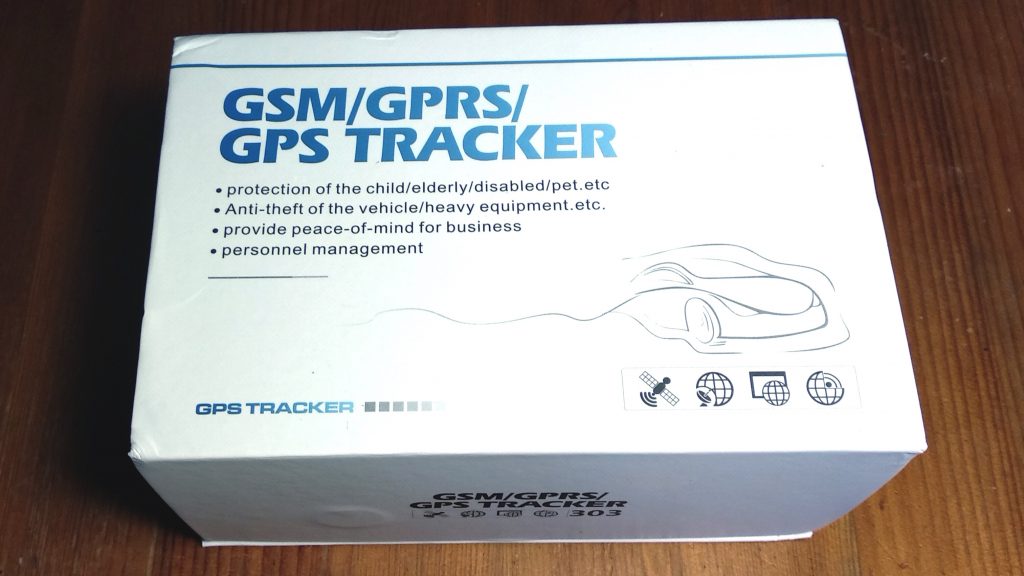
Our test subject today is one of the cheaper approaches out there. Today we will put Coban TK305 to the test, also known as GPS305, a model that goes into your threadless headset (aka A-head).
Unboxing
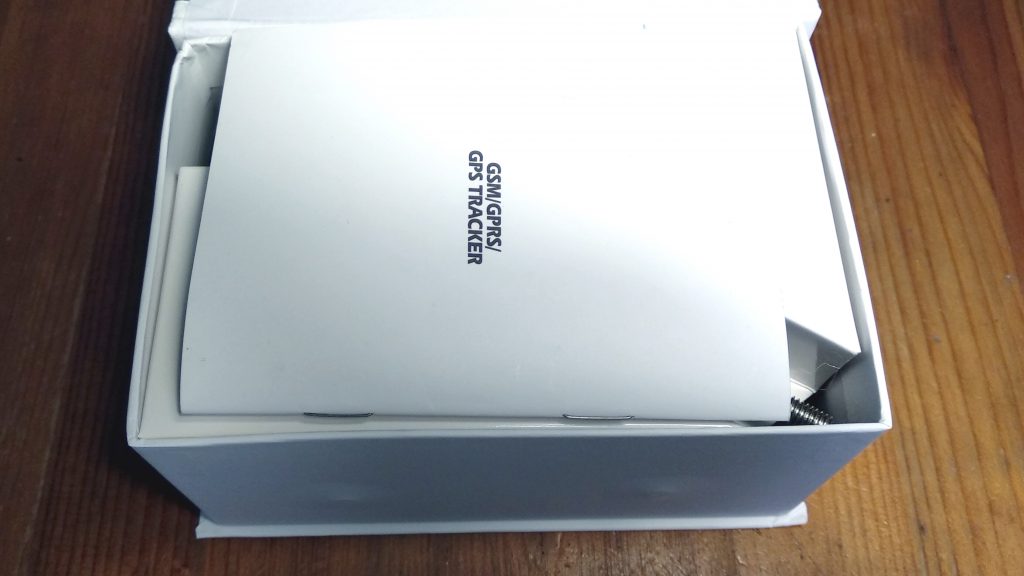
The box I got it with is from another tracking provider, I have to admit that it is not too bad. magnetic lock on the top, the pieces fit conveniently and safely, the manual contains everything you need to know even if there are some Chinese aftertaste to it, but they aren’t simply Google Translated it at least.
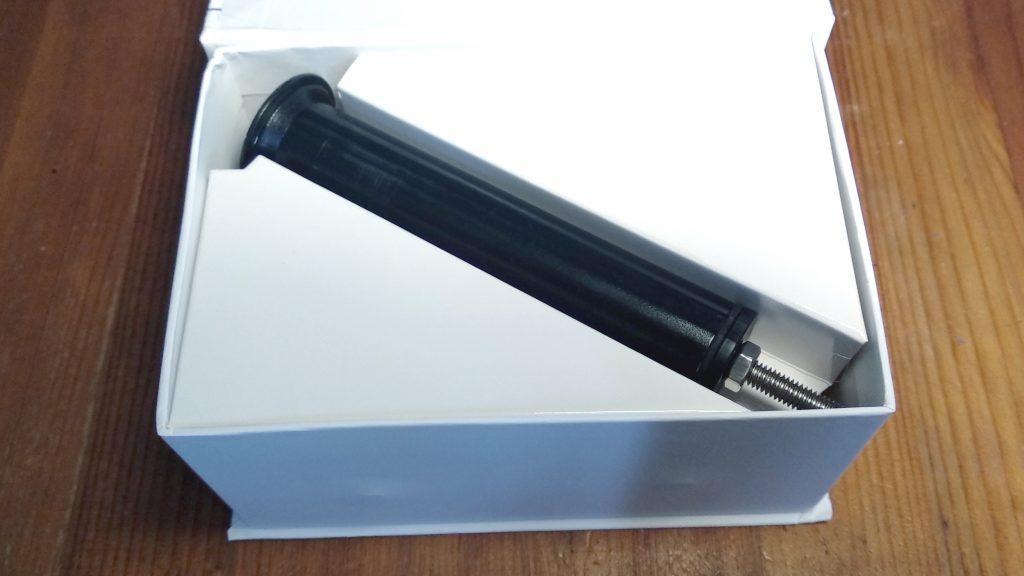
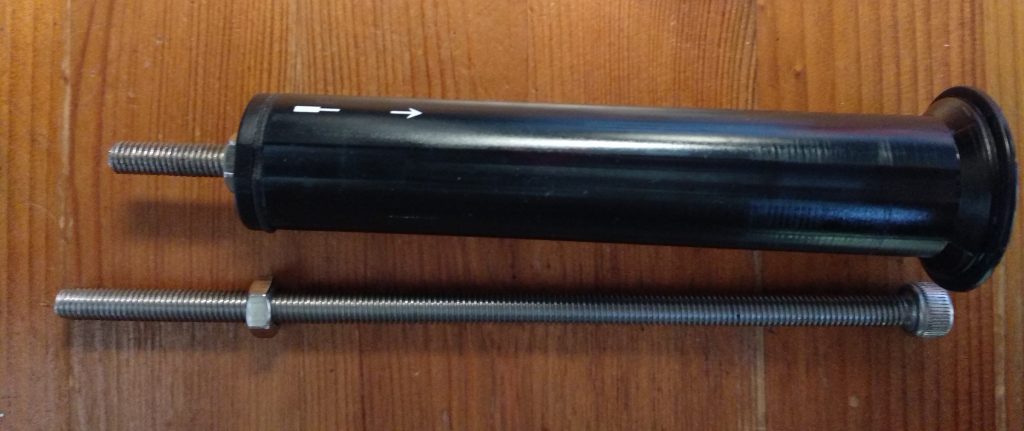
TK305 tracker itself.
Take a look at the specs, shall we?
The height is 11cm with a diameter of 23.5mm and weights only 50g.
Supported Networks: Quad Band 2G (GSM/GPRS) (850/900/1800/1900Mhz)
Supported location sources: GPS, LBS (Cellular Network based)
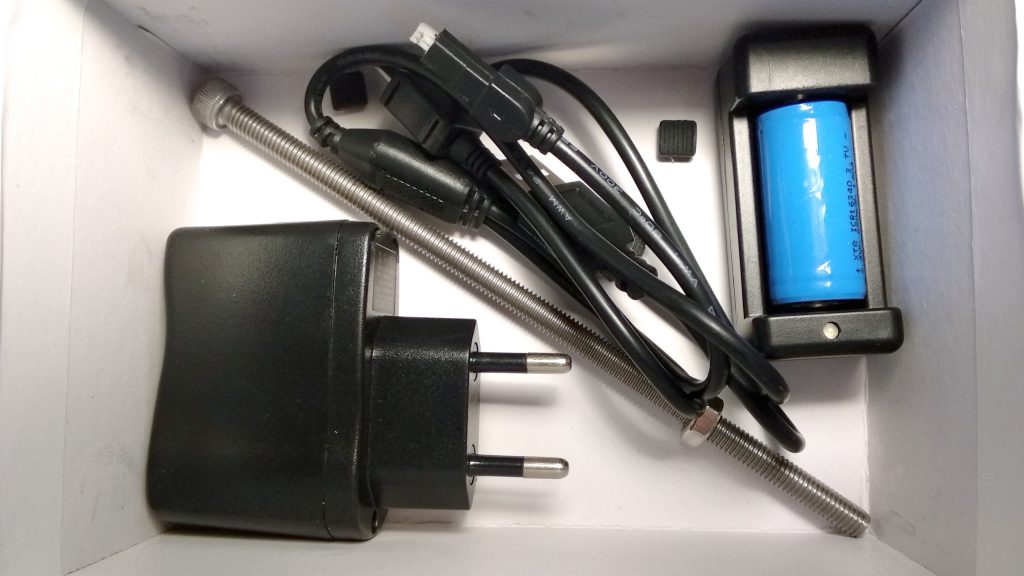
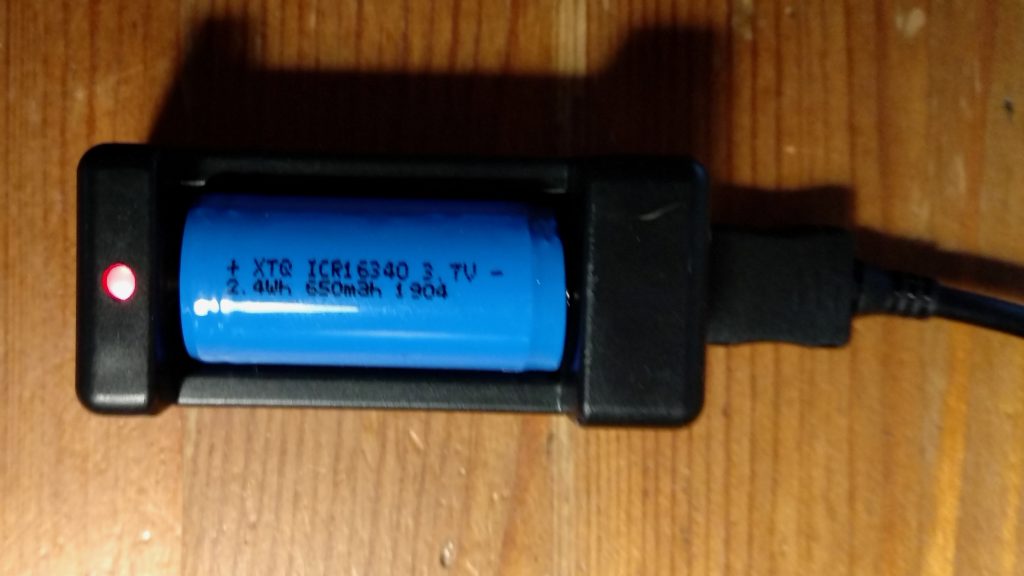
Battery Parameters: 1 x 16340 form factor cell with 600-700mAh capacity at 3.7V
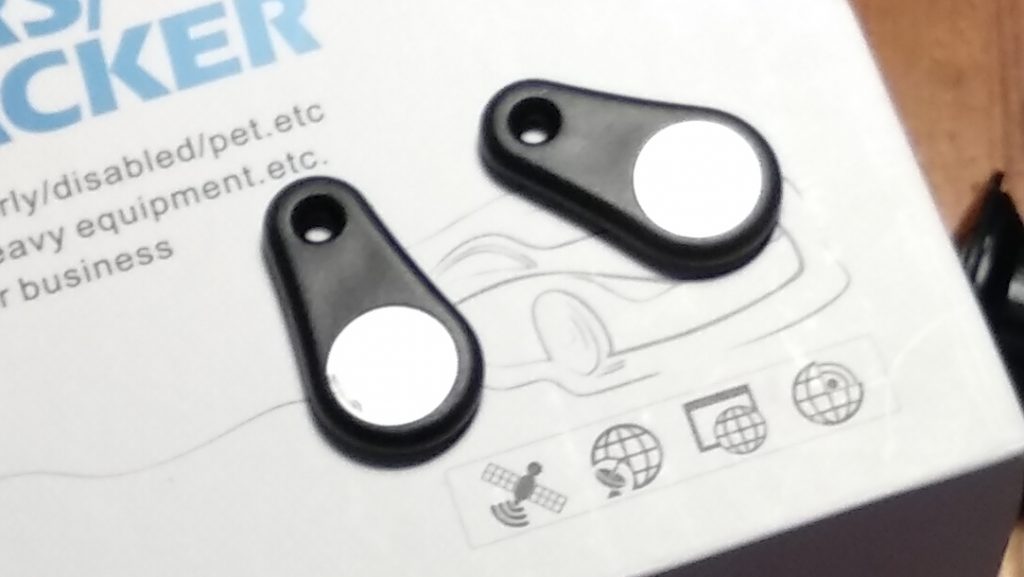
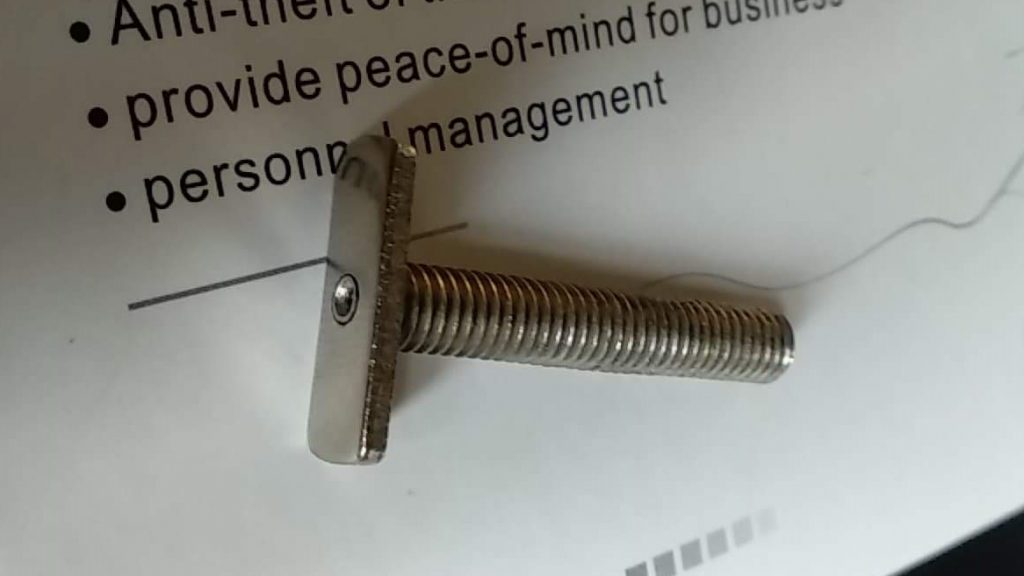
Additional parts included: 2 x Inductive keys, Charger, Special charging cable, Matching bolt, Spare rubber covers and a Manual
Compatibility and restrictions.
As you can already tell device only supports 2G networks, therefore if your provider already discontinued 2G services you and your bike are out of luck until they release a 3G or LTE capable model as they already did with TK102 device’s 3G version D recently. Note that your SIM card has to be 2G compatible too!
Although there is no support for GLONASS, Galileo or Beidou the precision is not too bad with GPS alone; and there is a fallback to LBS which works reasonably in most urban areas where you would need to protect your bike but the accuracy may vary.
Programming the tracker
Programming the TK305 bicycle GPS tracker is fairly easy – just like any TK device with a few extras
- Disable PIN lock on the SIM card from a cell phone
- Insert the SIM card into the bicycle tracker’s SIM slot
- Wake the device with the induction keys.
Issue the following commands one by one and wait for the response:
- begin123456 to reset the TK305 and begin the programming
- admin123456 00555123456789 sets an authorized phone number (00 = +)
- apn123456 internet sets your carrier’s APN name (replace it with yours)
- adminip123456 85.159.212.95 31200 sets it to our servers
- gprs123456 makes it communicate over GPRS
- sleep123456 bicycle2 or bicycle1 or shock to set the sleep modes
- disarm12345 5 3 sets 5 quick key touches as a disarm gesture with 3 tries
- fix030s***n123456 sets reporting to every 30 seconds (while awake), there will be no SMS response
Installing the bicycle GPS tracker
Installation on the other hand is not that easy:
- Remove your current top cap from the bike without loosening your stem.
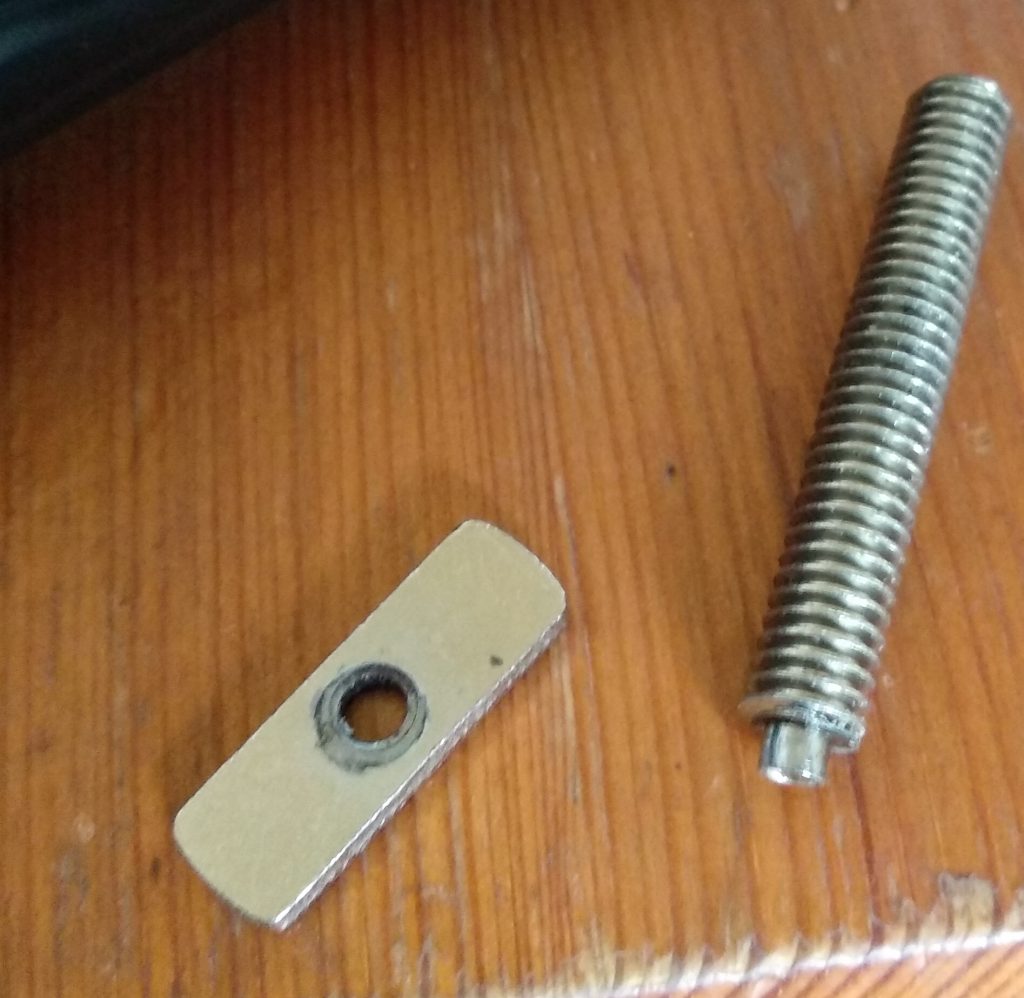
- Set the matching bolt’s nut to the same length as your tracker.
- Screw the matching bolt into your bike’s head tube till it reaches the star nut.
- Wrap a spare cloth over the rim of your head tube.
- Grab a hammer and gently smash the matching bolt into the tube.
- Once it is in line you can unscrew the matching bolt.
- You can very gently screw the tracker in.
Issues with the installation
There is no indication of the SIM alignment, if you put it in the wrong way it will not work, but the LED is continuously on to reflect that.
Unfortunately, if you are not careful enough you might damage your handlebar’s stem or even the head tube.
The included screw is weak and can loose its head while you are threading it in. It is a pain in the arse to remove – I managed to do so with chopsticks and dental clamps and plenty of patience.
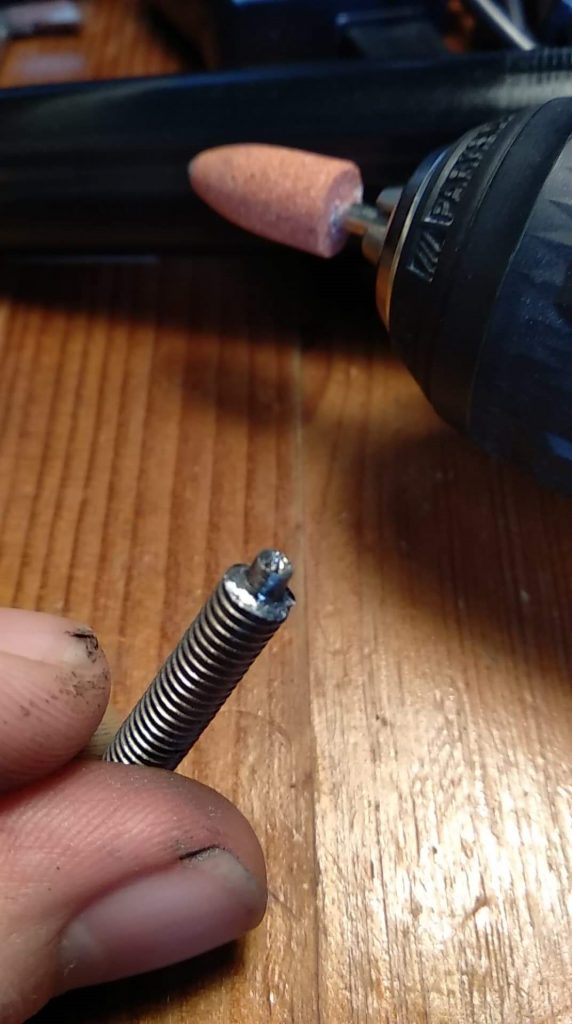
Once it was out I still had to fix the special screw – welding, drilling a hole for a screw in it are the main options here.
Even if you do everything fine – the tracker might not fit perfectly, there might be some space under it’s rim.
It can be removed by hand, your best hope is that they might not notice it. Imagine that you could simply remove a door if you would not want to open the lock on it.
Sleep and Alarm modes
Since there is only a tiny battery inside (there would be some room for improvement) the tracker counters it by going into deep sleep every time it is possible.
There are 3 sleep/alarm modes, all of them takes the bicycle GPS tracker to sleep after 5 minutes.
Modes called bicycle1 and bicycle2 both turn off the GSM module to save some juice, shock mode keeps it online so you can arm/disarm the device remotely.
The difference between bicycle1 and bicycle2 is that the latter will report movement even if disarmed.
Standby time was roughly two and a half day with shock mode.
Unfortunately standby time is not too shiny in bicycle1 mode either – I’ve measured 6 days without making any trips.
Since the device has no hard switch – you have to keep it disassembled if you want it to be ready for the job whenever you go for a ride.
(Or like me – just solder a switch to it. )
Battery and … Charging!
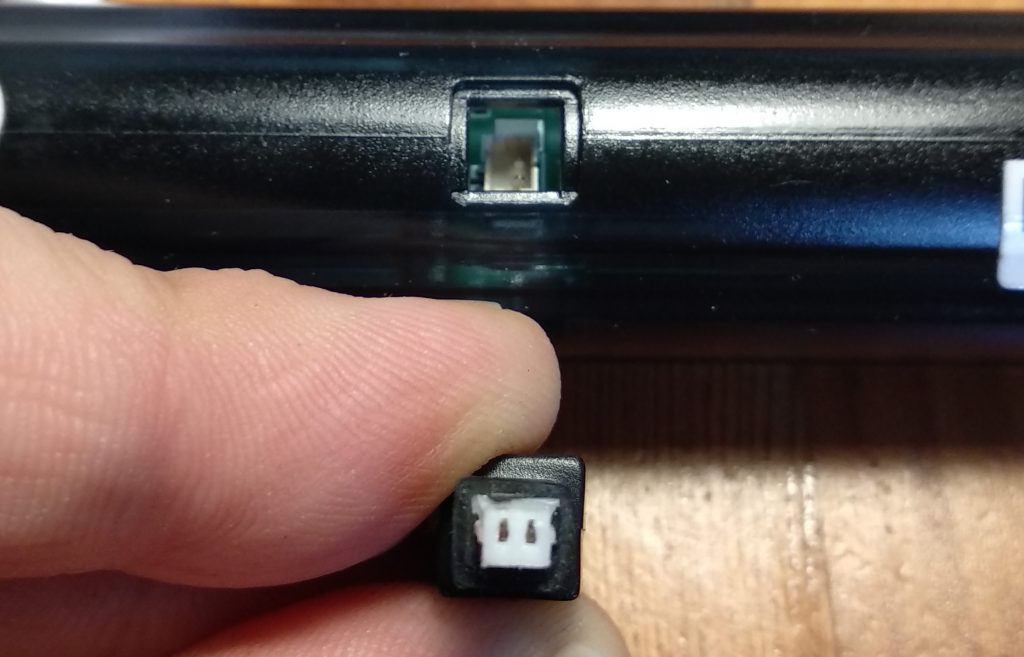
The lack of design effort makes charging a struggle. You have to remove the tracker from the bike every time you have to charge it. You can decide if you want to remove the battery from the bicycle tracker though. Pity that you have to remove it since their proprietary charging cable is as bad as it can possibly be.
Inconvenient to attach also too loose to hold a contact.
The included charger itself uses a proprietary connector where they could simply use a standard DC or any kind of USB connector.
They could even make the GPS chargeable inside the bike frame by utilizing a “bolt” on the top and the top-cap with and insulator between and providing a fitting connector to them
Induction keys
Sounds pretty good at first, then you realize it is merely a magnet the bicycle GPS tracker reacts to – you can replace it with any magnet from the fridge without an issue.
You can arm it with a single long touch, and disarm it with 2 quick touches by default.
The manufacturer tried to solve this problem by using a “password” when you try to disarm the device. It means that you can configure the number of times you have to touch the key to the device to turn off. You can even configure the number of attempts allowed. If you fail to enter the password the tracker locks up and can only be disarmed via an SMS from an authorized number.
A bad case of cases and screw up of screws.
The case is obviously plastic – that is perfectly okay for the inner parts of the tube. But certainly not on the top of the device that sticks out providing an attack vector for the thief.
The use of plastics is also bad on the bottom near the mounting screw that also serves as a battery door. It simply prevents you from screwing in the device into your bike well enough to prevent the thief from doing the same in reverse.
Speaking of the screw – in my case it was even weaker than the plastic itself – the screw’s head detached from the body while I was screwing it in by hand.
Further accidents
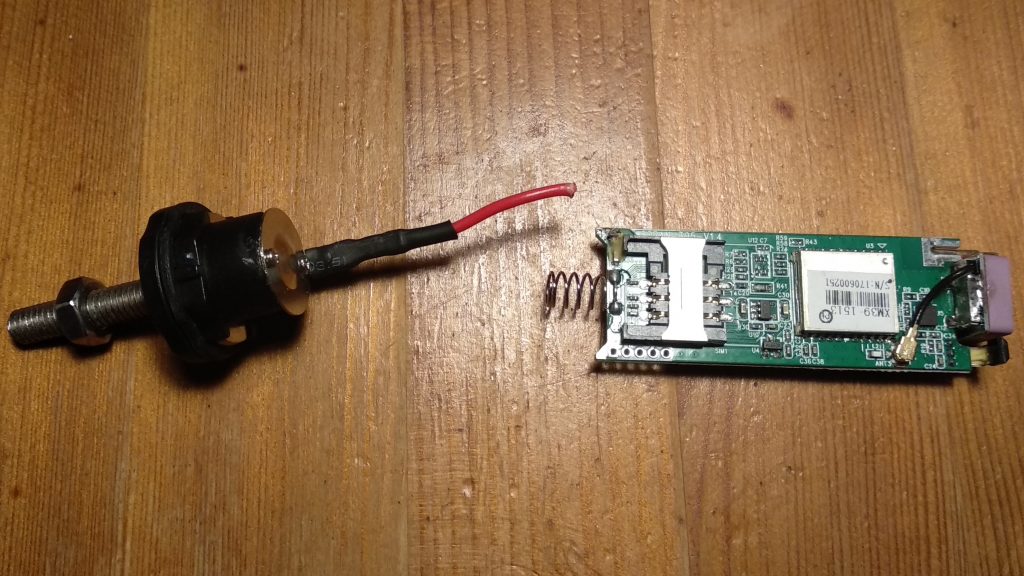
With the design and manufacturing manufacturing quality detailed above it was inevitable to fail eventually. This “eventually” did not wait too long to show up. After the screw on the bottom broke and had to be reattached, a few days later the bottom part detached itself from the PCB too. I was able to resolder it to the PCB and even added a hard switch to be able to keep the battery inside without draining all the time.
The next issue came when the device could no longer be charged via the 2 pin connector, the cable always came loose.
I fixed this issue by soldering a micro USB connector in, unfortunately that needed a lot bigger hole, so I had to drill a hole to the chassis. To provide some sort of cover to the now huge hole I had to utilize some heat shrink tubes that now slides on it.
The next accident happened when the batteries were about to drain completely, I was several hundreds of kilometres away, started to receive low_battery messages, so far so good you would say, but the messages kept coming, 2 or 3 SMS per minutes for roughly 20-30 minutes – when I finally managed to disarm the tracker via SMS command the tracker already blew a few bucks by repeating the same message over and over again.
Does it track?
Actually it does, and not even bad at it, the chip was able to get a decent accuracy and a precise reporting time even between higher buildings.
Very sad when the very core of your product works almost perfectly but the case and other design flaws ruin it.
Verdict
The question you may or may not be asking is: “Shall I buy one?“
And the answer is unfortunately a “No freaking way!” – unless you are okay with some DIY refurbishing and looking for a challenge.
The basic concept is not inherently wrong, but the execution lacks proper quality control. Selection of materials, basic design and assembly does not come close to what one should expect and get from a safety device.
You don’t have an account yet?
Visit CorvusGPS.com and start your free trial.


- Coban TK305 – Testing a Bicycle GPS Tracker - February 17, 2020
Leave a Reply
You must be logged in to post a comment.